Quick Start
- Quick Start
- Wireshark
- Second bus with OBDII cable
- Tapping into a bus
- Sensors (XGauge) Codes
- Bluetooth LE, Sensors and you
- Man in the Middle
Have a tutorial for your awesome CBT application?
Send it in!
Connect your new CANBus Triple to a CAN bus, and use the App to see some packets.
The CANBus Triple is compatible with any CAN 2.0b (Two Wire) CAN Network. In this guide we will connect it to a vehicle for simplicity.
For an CAN bus overview see this great blog post from Cowfish Studios.
Connect your CANBus Triple
In this writeup we will use the optionally available OBDII cable for CANBus Triple. It's an optional accessory because it unfortunately only connects to one bus on a vehicle. The OBDII port spec only defines one pair for CAN, while some auto manufactures will also expose a second bus on general purpose pins. To see if your vehicle exposes another bus refer to Pinouts Guide and see this tutorial on how to connect the second bus with the CBT OBDII cable.
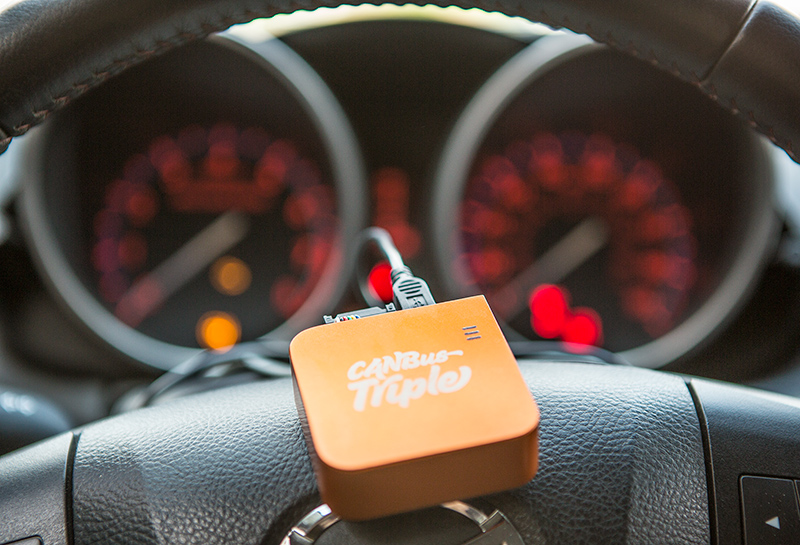
Step 1 - Plug it in Plug it in
With the OBDII cable it's that east to start sniffing data. Simply plug in the large side of your OBDII cable to the diagnostic port on your vehicle and the 12-pin side to the back of your CANBus Triple. Your diagnostic port is almost always located near your left knee somewhere if you're sporting a North American vehicle.

Attach the USB cable from your CBT to your PC/Laptop. I'm not going to explain how to do this, you're on your own.

Get the app and configure the bus speed
Download the app from here for your platform

Unzip and launch the application. On windows launch the 'CANBus Triple' shortcut or the nw.exe file from the extracted folder. On MacOS just double click. You may need to right click and select open, then click ok in the dialog box for unsigned applications.

Once the app is started navigate to the Hardware screen. If this is your first time launching the app you will be directed to select the COM port your CANBus Triple is using. On windows this will be something like COM3, on a Unix platform it will be something like /dev/cu.usbmodem1421. Once you're connected you will see the Hardware screen.
The Hardware screen will display the current firmware version running on the CBT, and the status registers of each bus. You can also change the bit rate for each bus here, so let get on with that!

With the OBDII cable we're only talking over Bus 1 of the CANBus Triple. Select the speed drop down and pick auto-detect for Bus 1.

On my MazdaSpeed 3 the bus exposed on the OBDII port is the High speed (HSCAN) bus that runs at 500kbps. The CANBus Triple detects the rate and stores the setting in nonvolatile memory so it sticks on restarts.

Where is the data Lebowski?
Finally, lets see some CAN packets! Head to the Packet Logger scree from the navigation on the left side of the app. Click on Bus 1 and the CBT will begin to send CAN packets to the app for you to see.

On the right side of the screen you will notice a 'View Mode' button. This will switch the display from Compact to Chronological. Lets talk about the difference between these two modes.
Compact Mode
Compact mode will overwrite an entry in the table with the same Message ID. This keeps all the data compact on the screen and makes it easy to detect message ids that correspond to button presses when you're reverse engineering data. If you're in a VW for example, and you're in compact mode you will easily see a line change when you press the window down button on the door.
Chronological
CAN packets can only carry 8 bytes of data. Sometimes a system needs more than 8 bytes so multiple messages may be sent in order. In chronological mode each packet that comes in from the hardware will be displayed at the top of the table, and each subsequent packet will be added on top.
Filters
You've probably noticed the Filter column in the table. If you identify a message ID that you're interested in you can tick the filter for that message ID and then switch to chronological mode to see those packets in the order that they occur.
One thing to note, this filtering is done in the app and it completely separate from the hardware filtering that the CANBus Triple does inside of the hardware CAN controllers.
Sniff all the things!
Have fun reading all the data and trying to identify message ids. You can keep track of the message ids for your custom firmware application!